01
Roof and flue inspection
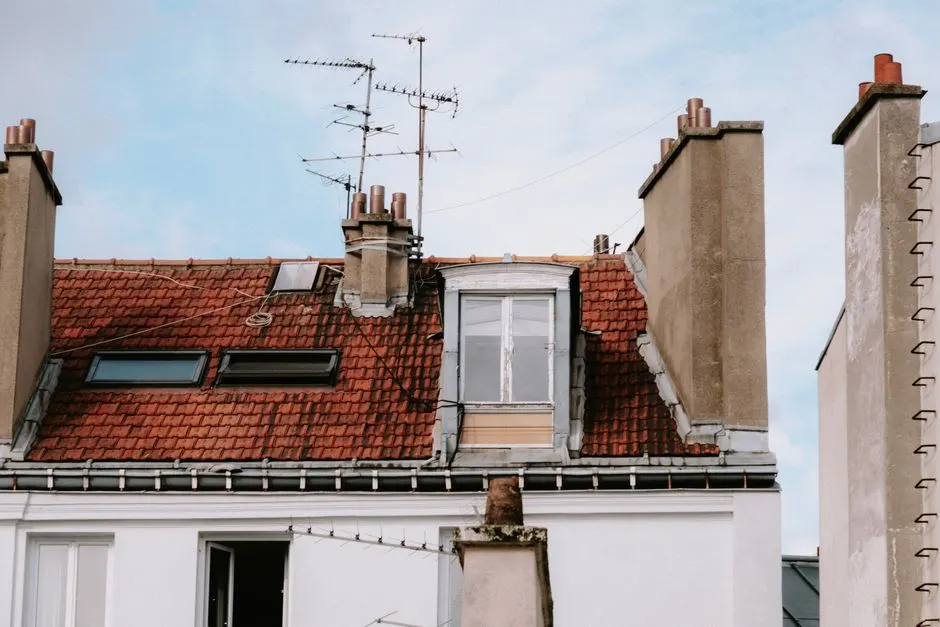
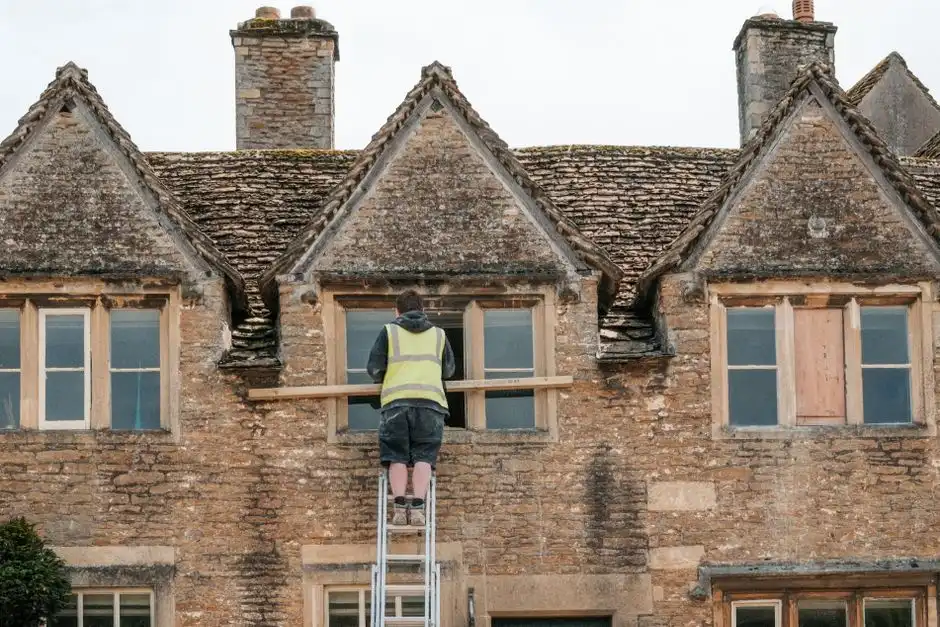
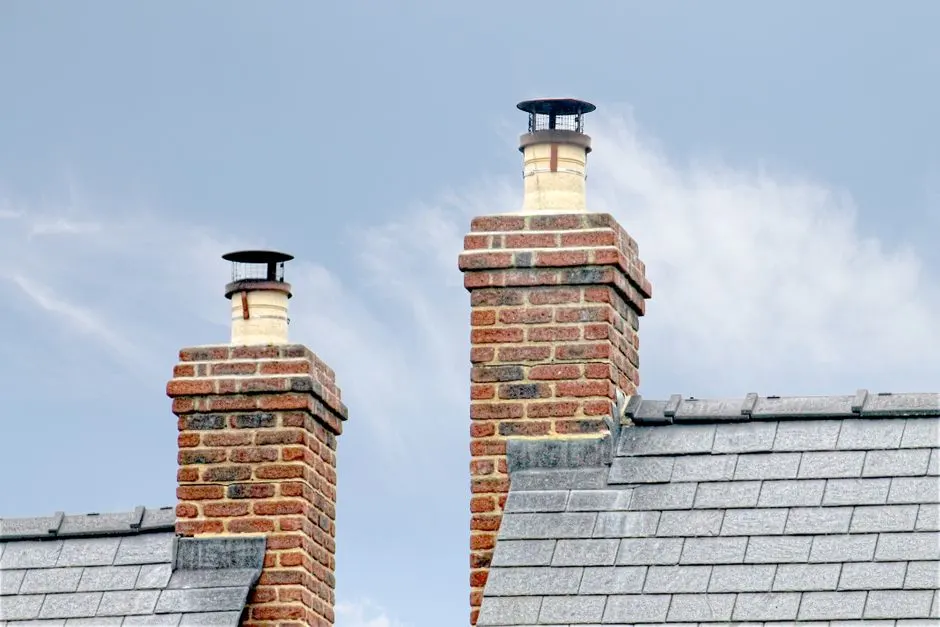
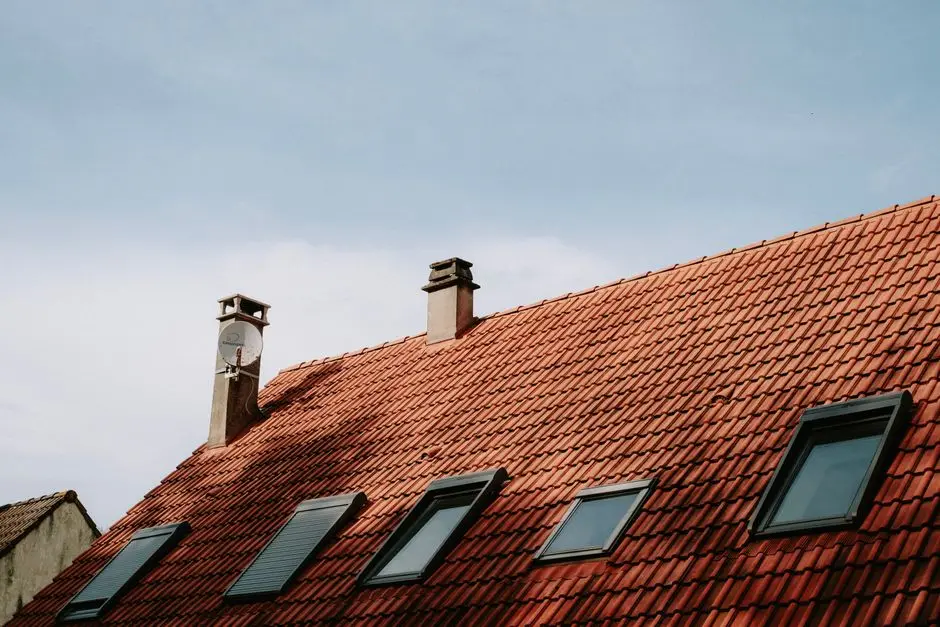
We get on the roof, photograph the cap, crown, flashing, and flue tile, and run an inspection camera down the flue. You see the same photos we do. This takes 20 to 30 minutes and tells us whether you need a repair or a full replacement.
02
Written estimate
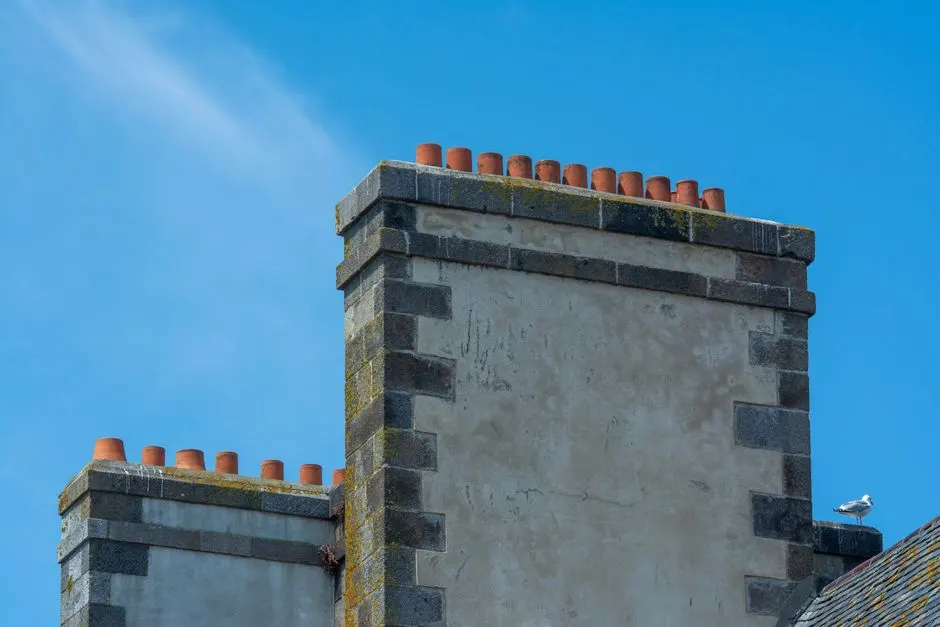
You get a written price the same day, broken into cap, crown, and flashing line items. No surprise add-ons later. If the cap is repairable, we say so. If it is rusted through, we quote a replacement in stainless or copper.
03
Cap removal and prep
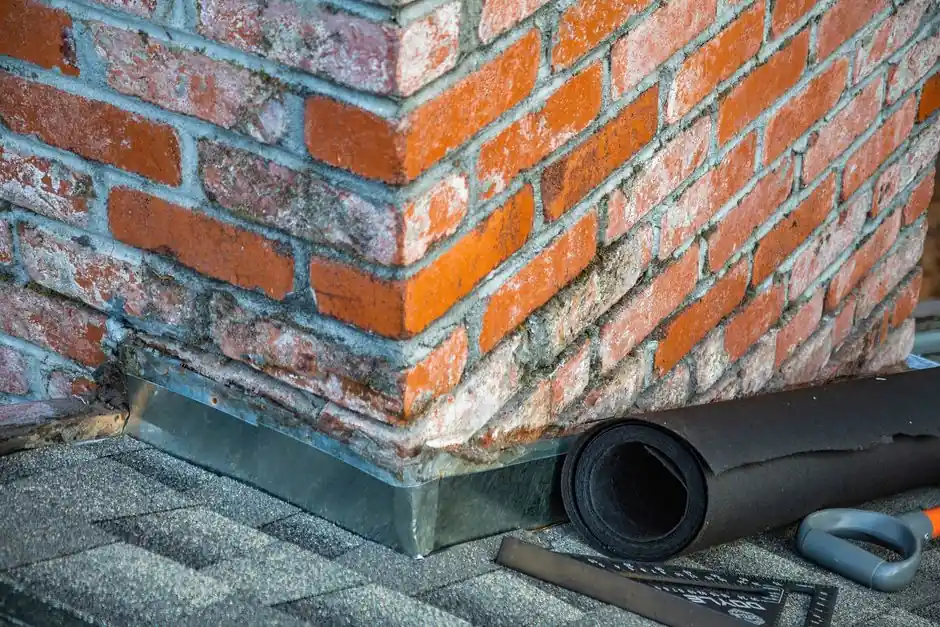
We pull the old cap, grind the rusted bolts with an angle grinder, and clean the flue tile and crown. Cracked mortar gets cut out and repacked with refractory mortar. This prep is what makes a new cap last instead of wobbling loose in the first nor'easter.
04
Cap install and sealing
We set the new cap, anchor it into the flue or crown, and seal the perimeter with ChimneySaver crown sealant. Flashing gets checked and re-caulked if needed. A standard cap install takes two to four hours; a custom cap can run a full day.
05
Smoke test and cleanup
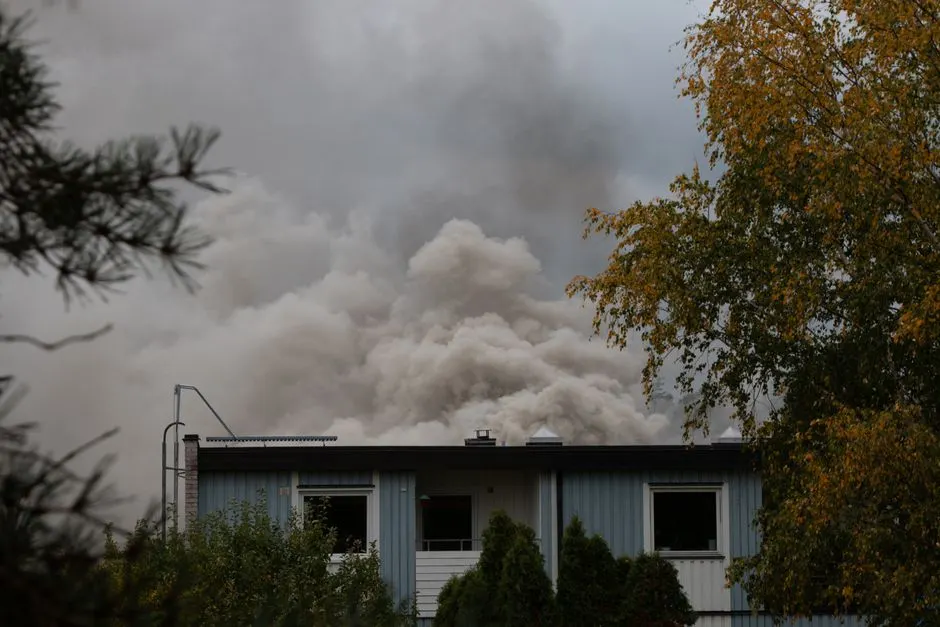
We run a smoke test kit to confirm draft and check for leaks around the flashing. Then we clean the roof, haul away the old cap, and walk you through what to watch for next season. You get a 5-year workmanship warranty on the install.